
Guide To Getting Started With MailChimp For Email Marketing
January 15, 2021

Step 1. Create Your MailChimp Account
Are you ready to get started with MailChimp and kick off your email marketing efforts? First things first, if you haven’t already, sign up for a free MailChimp account (use our referral link here).
Depending on the features you’d like to use and the number of subscribers you have, you might be interested in a paid account, however the free account will get you pretty far along. You can even have up to 2,000 subscribers for free.
Step 2. Connect Google Analytics and Other Apps in MailChimp
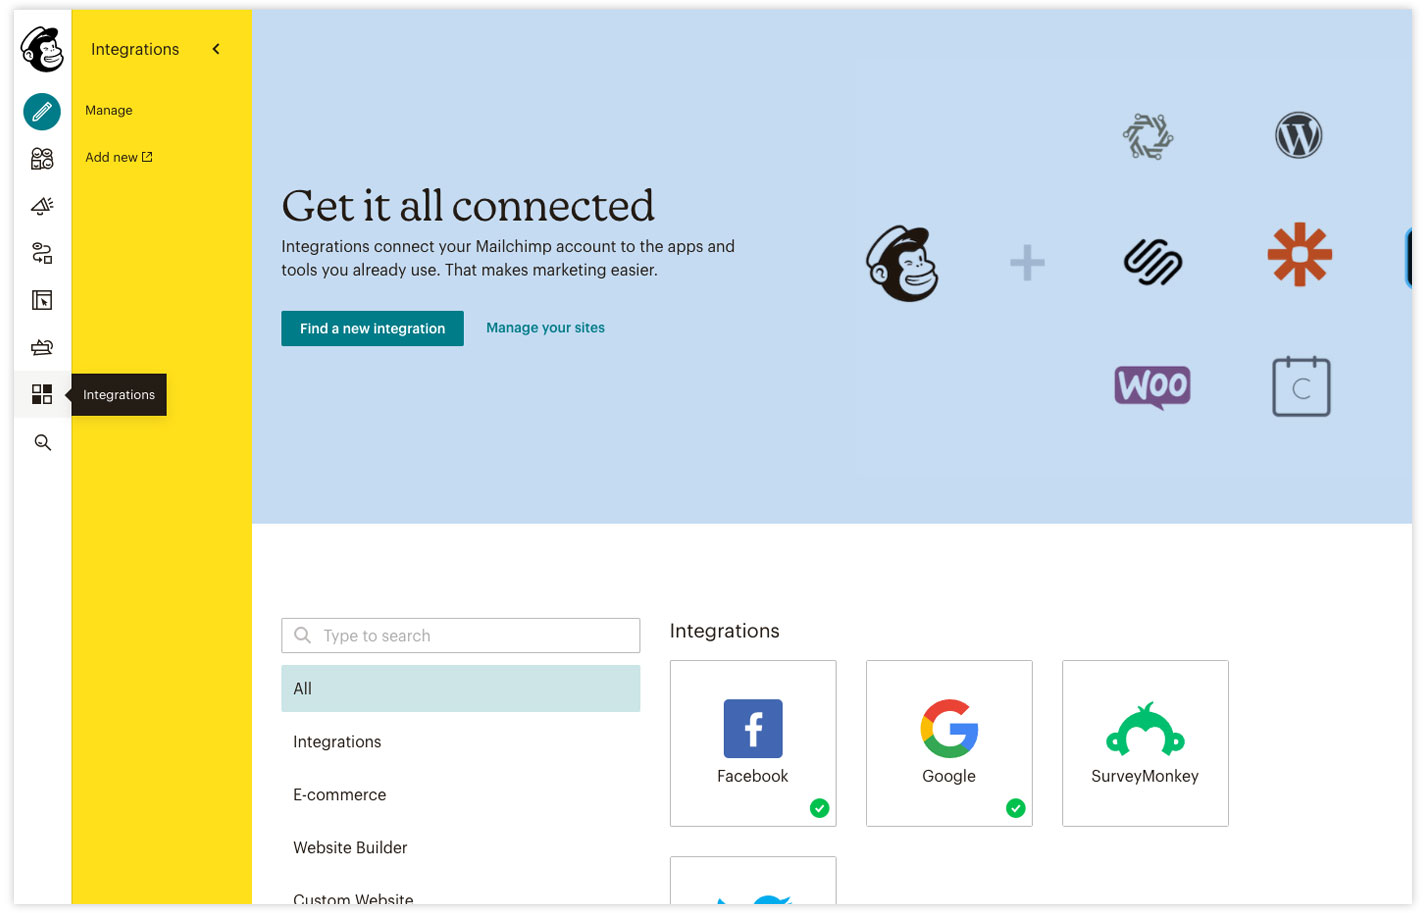
In your account settings, you can connect Google Analytics under the Integrations tab. This will help you track referral traffic from your emails to your website.
Find other integrations that might be relevant to your business here as well. You can connect event systems such as Eventbrite or connect to your website.
This will be particularly useful if you have an e-commerce website. You can connect your site to MailChimp so you can begin sending activity-based email automations for things like product follow ups and abandoned cart emails. It’s very easy to connect Shopify or WordPress’ WooCommerce to MailChimp using the ShopSync App.
Once you get your new MailChimp account connected to your other digital marketing tools, you’re ready to set up the other details of your account.
Step 2. Set Up Your Audience in MailChimp
It’s best to set up one single audience, and then use segments to send to specific sub-groups.
You can add subscribers one by one manually, or upload a list via CSV import. Or, they could be automatically imported via an app such as ShopSync from your website or other database.
Here, we’ll walk you through how to import via a spreasheet/CSV import.
Before importing a list via CSV, it’s vital to ensure you have Merge Fields in place within your list settings. These Merge Fields will map to the columns in your spreadsheet. For example, First Name, Last Name, Business Name, Birthday, Segment or Category, etc.
Begin by creating a list. Keep in mind, there are subscriber settings where your subscribers will see the name of your list, so keep it customer-friendly. Ours is simply called “Noble Intent Studio”.
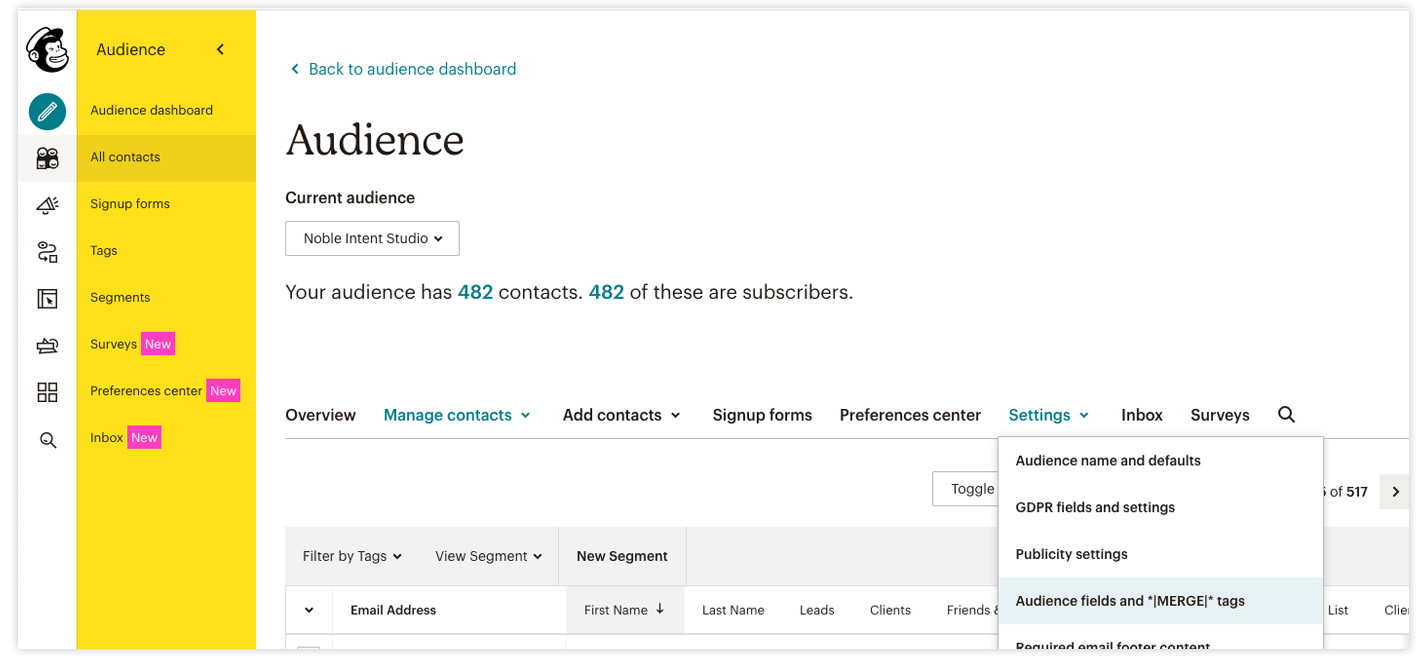
Once you have your list created, set up your Merge Fields by going to Settings > Audience fields and *|MERGE|* tags.
Any data you have about your subscribers that you want to include should be in columns in your spreadsheet that you’ll import. These could include Address, Birthday, if they are a Lead or existing Customer, etc. Have columns for each data point, then create a Merge Field that matches each column.
Now go to Add Contacts > Import Contacts. Here, you can upload your CSV file and map your Merge Fields to the columns in your CSV.
Voila! You now have your contacts imported as subscribers!
Step 3. Set Up Technical Details in MailChimp
Now that you have your subscribers imported, it’s time to make sure all of the technical details are set up correctly as you get started with MailChimp.
Be sure to look through all list Settings and make sure your information is displayed correctly.
Set Up a Preference Form
You can even customize your forms (unsubscribe, preference forms, etc.).
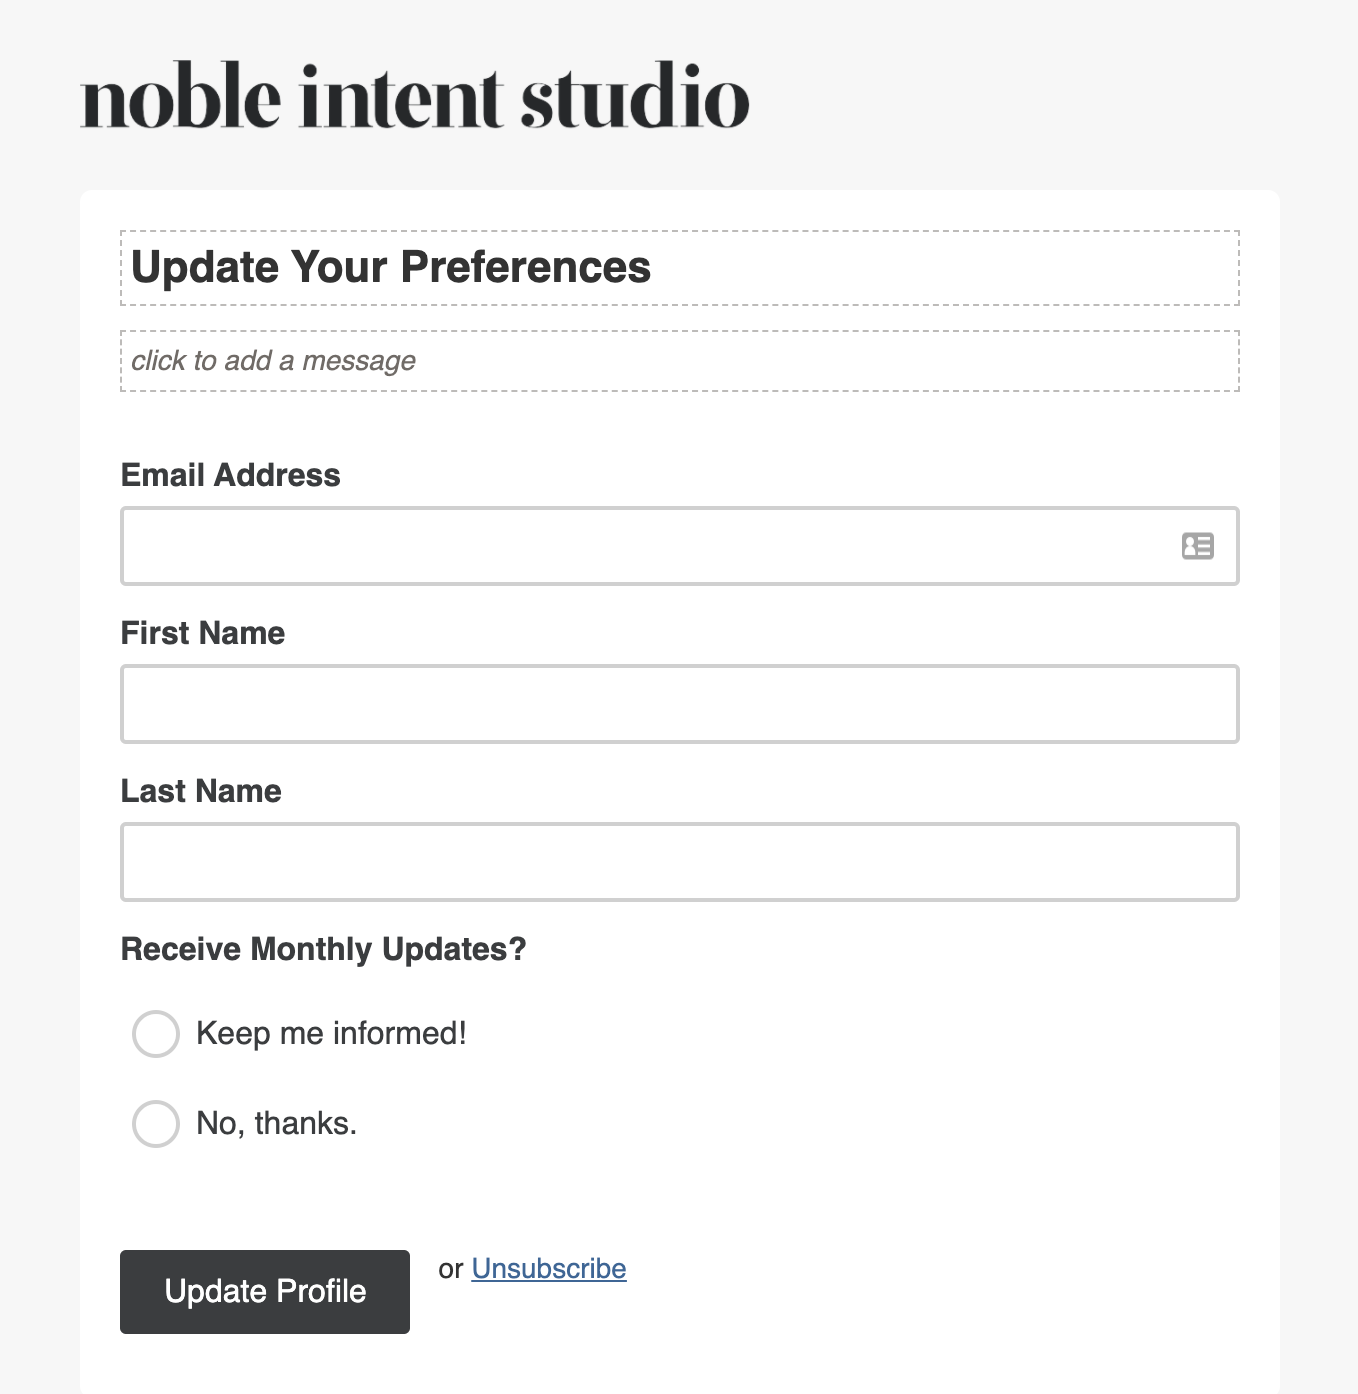
There’s nothing worse than losing a subscriber when they’re a customer or lead. Once a subscriber unsubscribes, you will never be able to email them again. You can give people more options than just unsubscribe. Try out a preference form and give “update preferences” more prominence in your email footer than the “unsubscribe” link.
You can do this by adding it as a Merge Field within your list. Ours is titled “Receive Monthly Updates?” with Yes or No options:

Be sure it’s checked as “visible”. This will allow it to show up on your preference form.
You could do anything that fits your content strategy such as “Receive updates less frequently” or something similar.
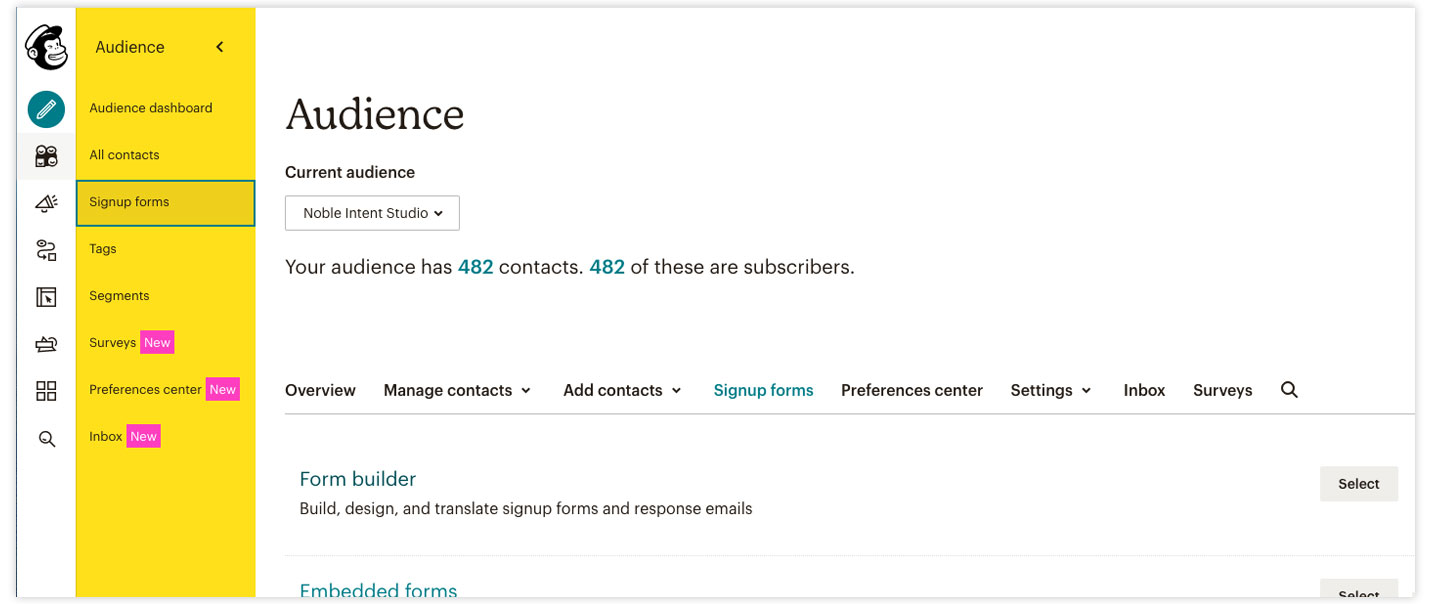
Then, go to Signup Forms > Form Builder > Update Profile Form
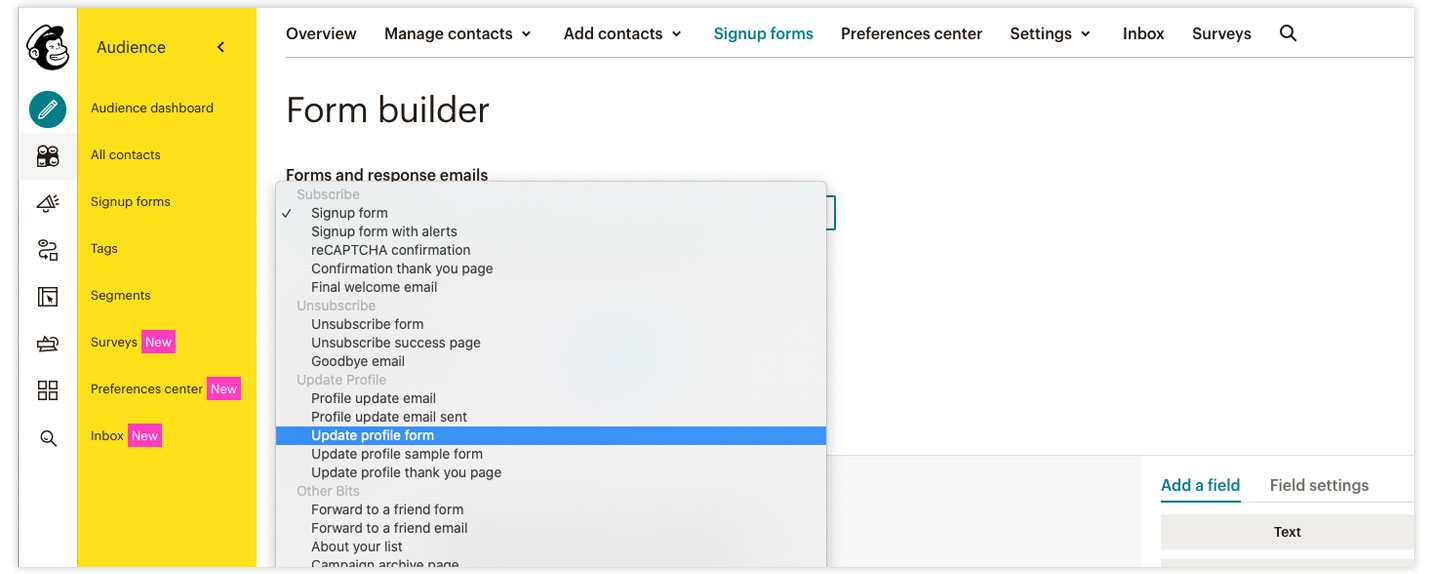
You’ll see it show up along with your other Visible merge fields:
Now, just be sure to exclude anyone who selected “No” from receiving your more frequent updates.
You can update colors and add your logo here as well. Designing one, will design the rest!
The link to the preferences form will show up in your email footer:
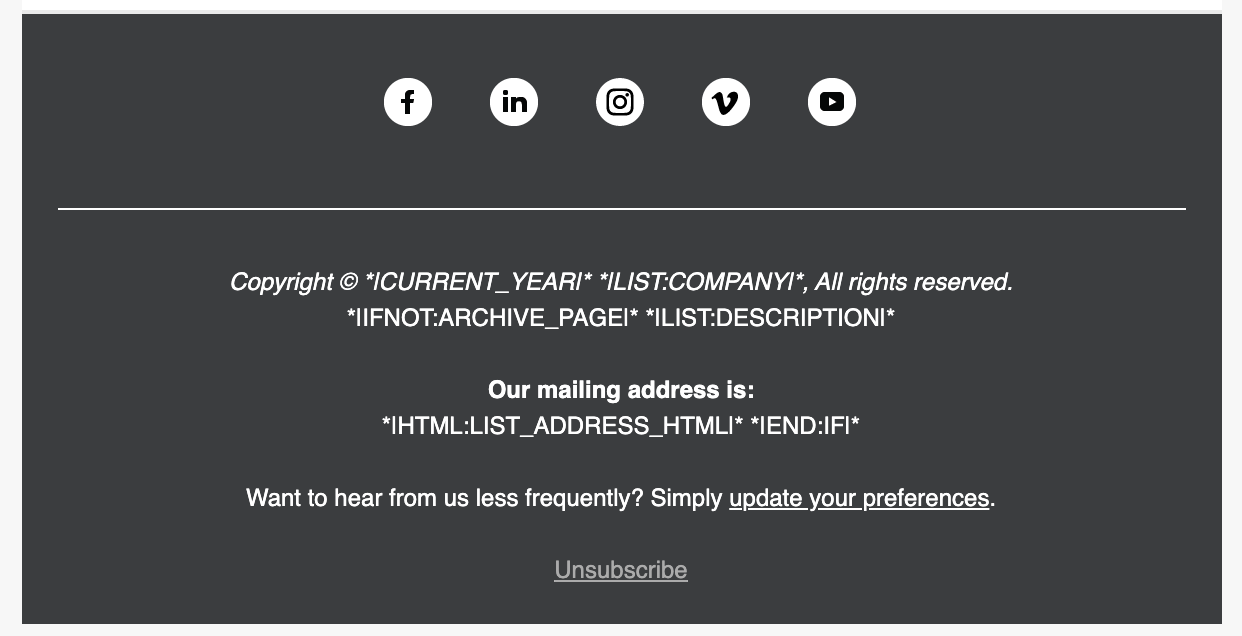
We chose to make “update your preferences” more visually prominent than “unsubscribe” to hopefully reduce unsubscribe rates.
3. Build Your Campaign in MailChimp
Go to Campaigns > Create Campaign > Email to begin setting up your email campaign.
I recommend starting by building an email with the Basic block builder.
MailChimp’s drag and drop editor is very simple and intuitive to use. One pro tip is to keep your total image size weight around 100-200kb. This will help with deliverability and usability. Messages with either all images and no text, or a lot of large images, will get flagged as spam and perhaps not even load in the email client.
Once you have your framework set up, save it as a template so you can start there and have your header, footer, and styles in place. You can always replicate a past campaign to begin a new one too.
There are a lot of features you can use within MailChimp, such as automations, drip series, and other non-email campaign types such as ads and even printed postcards.
If you’re just starting out, start small with the basics, and build from there. Experiment with different features and see how your audience responds!